The best Jewelry Retouching Process:
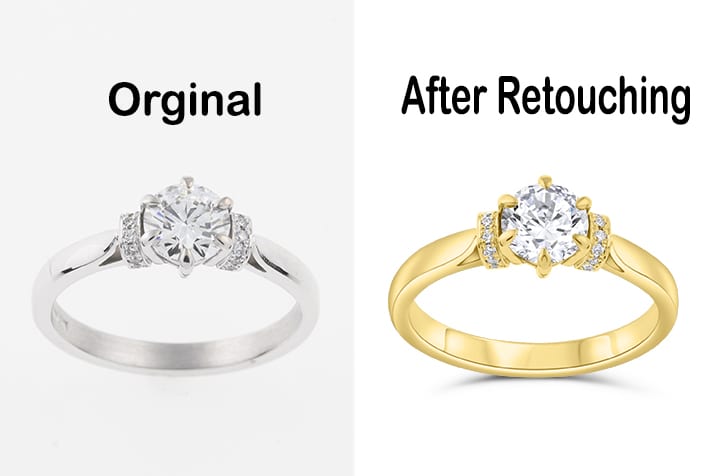
Introduction: Jewelry retouching is a crucial aspect of showcasing jewelry products in the most appealing and enticing way possible. Whether it’s for E-commerce platforms, print catalogs, or marketing materials, mastering the art of jewelry retouching can significantly enhance the visual impact and desirability of your products. In this comprehensive guide, we’ll walk through the step-by-step process of jewelry retouching, from preparing your workspace to applying the final touches, ensuring that your jewelry images shine with brilliance and allure.
1. Preparing Your Workspace : Before diving into the retouching process, it’s essential to set up your workspace for optimal efficiency and productivity. Start by organizing your files and creating a dedicated folder for your jewelry images. Ensure that your computer has sufficient processing power and storage capacity to handle high-resolution images. Additionally, calibrate your monitor to ensure accurate color representation and brightness levels, as color accuracy is paramount in jewelry retouching.

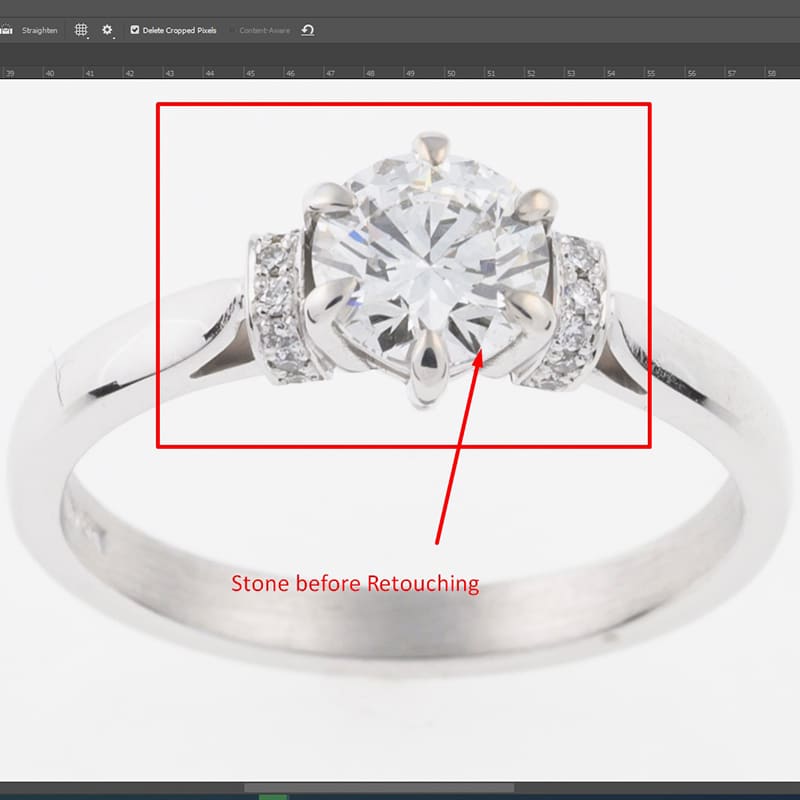
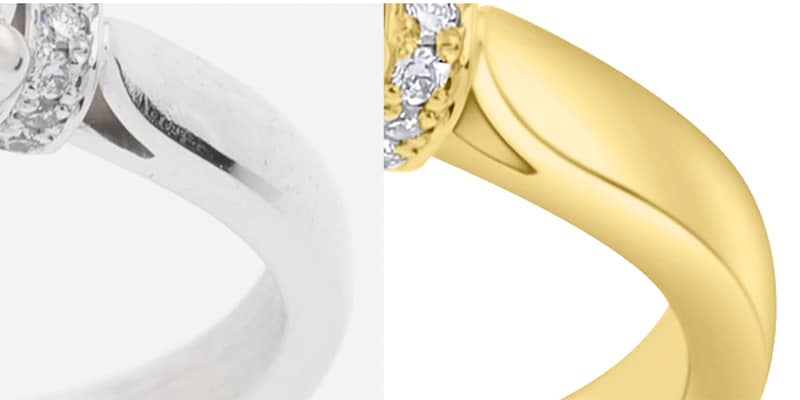
2. Image Selection and Preparation : Select high-quality images that showcase your jewelry products in the best possible light. Look for images with sharp focus, accurate colors, and minimal distractions. Before retouching, it’s essential to clean up the images by removing any dust, scratches, or blemishes using the Spot Healing Brush or Clone Stamp tool in Photoshop. Pay close attention to details such as gemstone reflections and metal textures, as these elements play a significant role in the overall appearance of the jewelry
3. Basic Adjustments and Enhancements : Start by making basic adjustments to the exposure, contrast, and color balance of the image using tools like Levels, Curves, and Hue/Saturation. Fine-tune the highlights and shadows to bring out the intricate details of the jewelry. Next, use the Sharpen tool to enhance the clarity and definition of the edges. Be cautious not to over-sharpen, as it can introduce noise and artifacts.
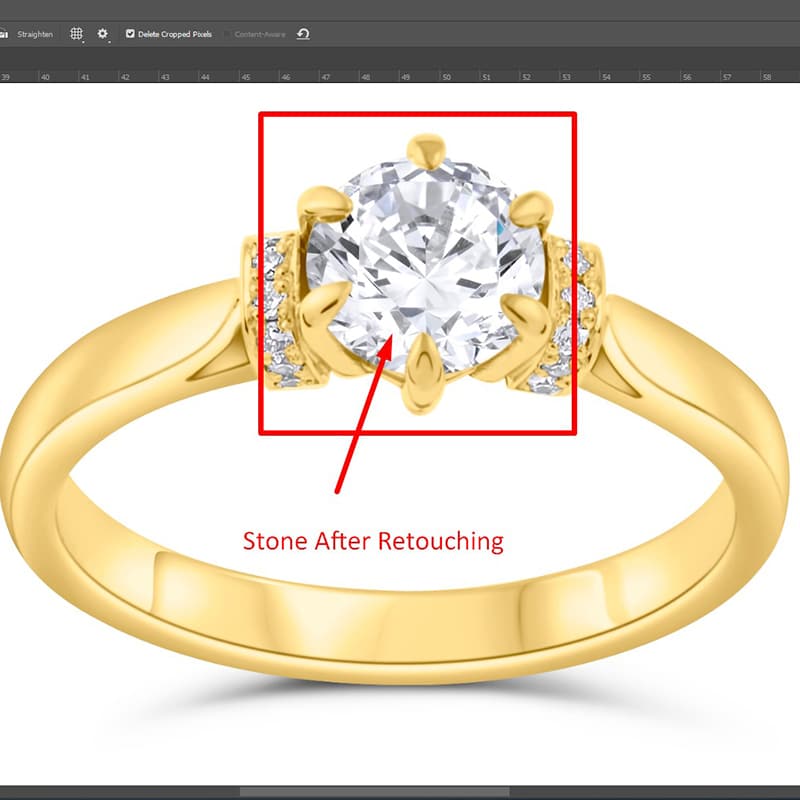
4. Gemstone Enhancement : Focus on enhancing the brilliance and sparkle of the gemstones to make them appear more vibrant and alluring. Select the individual gemstones using the Lasso tool or the Pen tool, and create a separate adjustment layer for each gemstone. Adjust the levels of saturation, brightness, and contrast to make the gemstones pop. Consider adding a subtle glow or sparkle effect using layer blending modes and filters like Gaussian Blur or Lens Flare.


5. Metal Refinement : Refine the appearance of the metal components of the jewelry, such as gold, silver, or platinum. Use the Dodge and Burn tools to selectively lighten or darken areas of the metal to create depth and dimension. Pay attention to reflections and highlights, as they can add realism and shine to the metal surfaces. Consider applying a soft brushstroke or gradient overlay to simulate the effect of light reflecting off the metal.

6. Final Touches and Presentation : Once you’re satisfied with the overall look of the jewellery, apply the final touches to perfect the image. Clean up any remaining imperfections or distractions and ensure that the background complements the jewelry without overshadowing it. Consider adding a subtle drop shadow or reflection to ground the jewelry and create a sense of depth.
Finally, save the retouched image in the appropriate file format and resolution for its intended use, whether it’s for web or print.
Conclusion : Mastering jewelry retouching requires patience, attention to detail, and a keen eye for aesthetics. By following this step-by-step guide and honing your skills through practice, you can create stunning jewelry images that captivate your audience and drive sales. Remember to keep experimenting with different techniques and styles to find what works best for your unique jewelry products. With dedication and creativity, you can elevate your jewelry photography to new heights of excellence.

